






How to Set the Deployment Clasp: 11 Easy Steps

Hey there! Welcome back to our Blog! We’re going to show you how to set and wear your watch with a deployment clasp, specifically one paired with a comfortable silicone band. If you’ve never used a deployment clasp before or you just want to make sure you're doing it right, this guide is for you. By the end of this blog, you’ll know exactly how to set your clasp, adjust it for the perfect fit, and ensure your watch stays secure and stylish.
Before we dive in, let’s quickly go over what a deployment clasp is.
What is a Deployment Clasp?
A deployment clasp is a type of watch clasp that is designed to securely lock your watch in place without the need for a buckle. This clasp is super convenient and often comes on silicone bands. It’s ideal for those who want a secure, comfortable, and easy-to-wear watch. The beauty of the best deployment clasp is that it opens and closes with a simple press of the buttons, offering a snug fit and preventing the watch from falling off accidentally.
And when paired with a band, the clasp ensures your watch remains soft and flexible against your wrist while staying secure all day long.
Let’s get started with the steps on how to set the watch deployment clasp for a silicone band watch.
Step 1: Familiarize Yourself with the Deployment Clasp Mechanism
The first thing you need to do is get familiar with how the deployment clasp works. This clasp usually has two push buttons on the sides, which are there to unlock it. The clasp itself will have two folding sections that open when you press the buttons. These folding sections allow for easy adjustment, while the band ensures comfort.
Step 2: Press Both Buttons to Open the Clasp
To begin, hold your watch and press both push buttons on the sides of the deployment clasp at the same time. This action will cause both sides of the clasp to fold open, revealing the strap inside. Make sure to press the buttons gently but firmly—this ensures the clasp opens without damaging the strap.
Step 3: Gently Pull Both Sections Apart
Once the clasp is open, gently pull both ends of the clasp apart. This will help you separate the two sides of the clasp so you can insert the strap correctly. Do this gently to avoid putting unnecessary stress on the strap.
Step 4: Slide the Strap Through the Clasp
Now, take the other end of the strap and insert it into the last section of the clasp. Gently slide the strap through the opening. The band should glide smoothly through the clasp, and if you feel any resistance, double-check that you’re not forcing it.
Step 5: Adjust the Length for a Comfortable Fit
Next, adjust the length of the strap by sliding it through the clasp. Make sure to adjust it so that it fits comfortably around your wrist—not too tight and not too loose. You want it to be snug enough to stay in place but comfortable enough to wear all day.
Step 6: Secure the Strap with the Clasp
Once you’ve got the strap in the right position, it’s time to lock it in place. To do this, find the small hole on the strap and align it with the clasp's metal pin. Press the hinge of the clasp into the hole to secure the strap. The pin should fit securely into the hole, holding the strap in place.
Step 7: Close the Clasp by Folding It Over
Now, fold the last section of the clasp over the strap. Push it down gently until you hear a faint click. This click means the clasp is securely locked, and your silicone strap is in place.
Step 8: Bring Both Ends Together
With the clasp secured on the strap, bring both ends of the clasp together and align them with the center of the watch. The deployment clasp should have two sides that click into place when aligned. Press both sides into the center until you hear a satisfying "click." This means the deployment clasp is now fully closed and locked.
Step 9: Check the Security of the Clasp
After closing the clasp, give it a little tug to make sure it’s securely locked. The clasp should stay firmly in place, with no movement. If you feel any looseness or resistance, open it again and double-check that both sides are properly aligned and locked.
Step 10: Adjust the Fit Once More if Needed
Now that your clasp is secure, it’s time to try on the watch. Put it on your wrist and make sure it feels comfortable. If it’s too tight or too loose, you can repeat the previous steps to make fine adjustments. The strap should feel comfortable and flexible against your wrist, and the clasp should remain securely in place without causing any discomfort.
Step 11: Enjoy Your Perfectly Fitted Watch
Now, your watch is set up, adjusted, and ready to wear! Whether you’re headed to the office, going out for a casual day, or just relaxing at home, your silicone band with a deployment clasp will keep your watch secure, stylish, and comfortable all day long.
Conclusion
And that’s it! You've just learned how to set the deployment clasp on your silicone band watch. With these simple steps, your watch will stay securely in place, offering both comfort and style. The deployment clasp adds an extra level of convenience and ensures your watch always fits just right.
If you found this guide helpful, be sure to like this blog, and share it with your friends who might need help with their watch clasps.
We hope you enjoy your perfectly fitted Sylvi watch with a band and deployment clasp!
Recommended Topics
Latest Watches
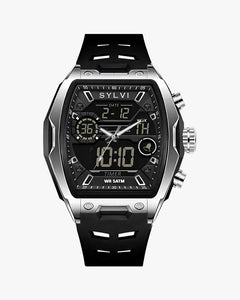
Vanguard Black Silver Silicone
Rs. 1,689.00
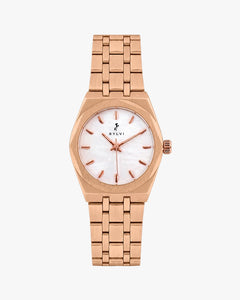
Sia White Rosegold Steel
Rs. 2,329.00
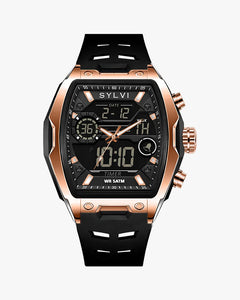
Vanguard Black Rosegold Silicone
Rs. 1,689.00
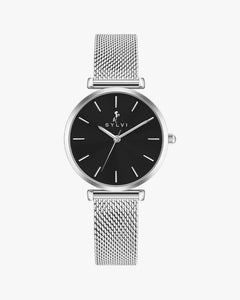
Serene Black Silver Mesh
Rs. 1,699.00


Leave a comment